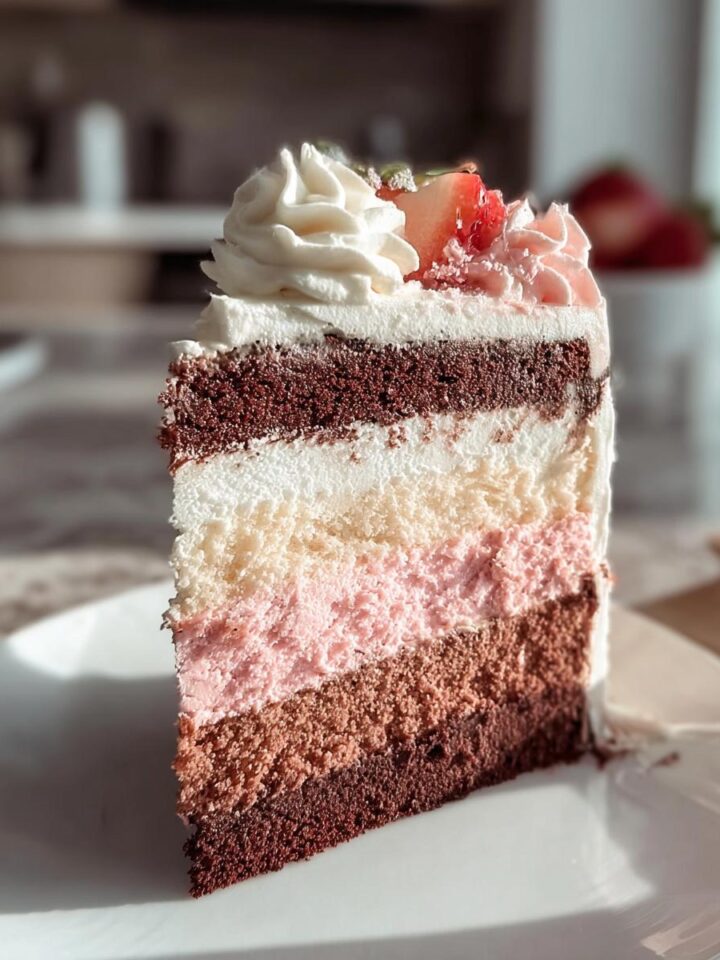
When I think about the times spent in my kitchen, I can’t help but smile as I remember the joy of making a Brownie Refrigerator Cake with my kids. It was a rainy Saturday afternoon, and there we were, measuring and mixing, sneaking bites of brownie batter straight from the bowl. The laughter and little chatter filled our home, and the excitement of layering brownies, cream cheese, and pudding created a memory that still warms my heart. This cake has become our go-to dessert for family gatherings, birthday parties, and even cozy evenings at home with a movie.

What makes this Brownie Refrigerator Cake so special is its deliciously rich layers and the thrill of serving something that looks as good as it tastes. It’s perfect for any occasion, whether you’re celebrating a birthday or just need a sweet treat to lift your spirits. The best part? It’s easy to put together and can be prepped ahead of time, letting you enjoy every moment with your loved ones instead of being stuck in the kitchen. Trust me, this dessert is going to become a cherished part of your family’s traditions too!
Why You’ll Love "Brownie Refrigerator Cake"
- Quick and easy to prepare, making it perfect for busy days.
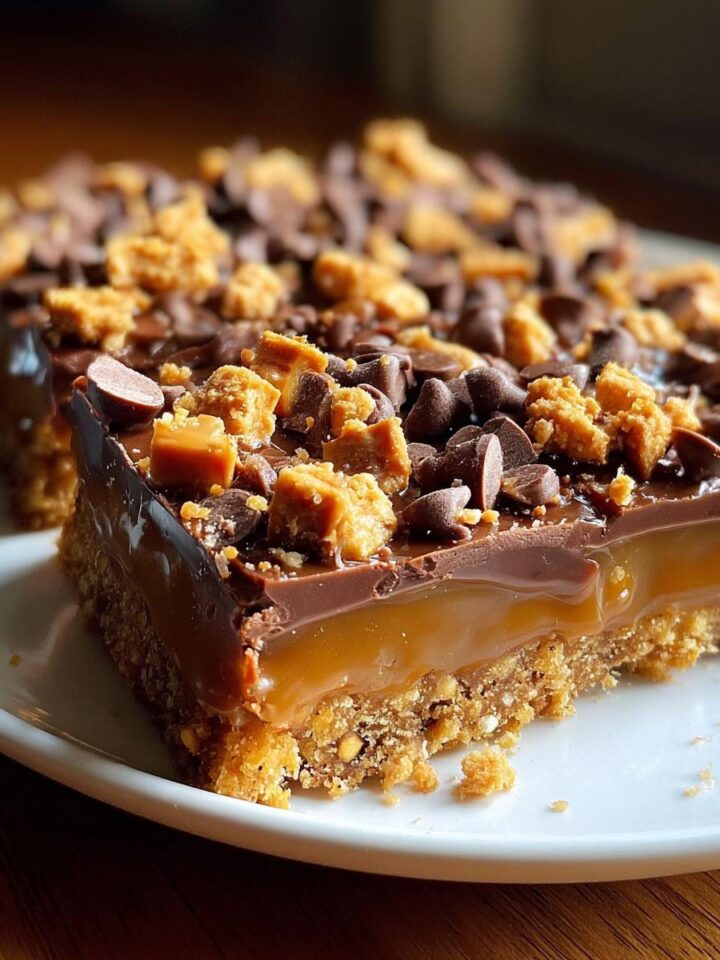
- Layers of rich brownie, creamy filling, and luscious pudding create a delightful flavor explosion.
- Great for families—everyone will want a piece of this indulgent treat!
- Minimal ingredients required, so you won’t have to make a special trip to the store.
- Can be made ahead of time and stored in the fridge, freeing up your schedule.
- Versatile with flavor options, allowing you to make it your own!
Ingredients You’ll Need
- 1 box brownie mix (prepared according to package instructions, any brand you prefer)
- 1 extra-large egg (or as required by brownie mix)
- 1 (8 oz.) package cream cheese, softened (full-fat works best for creaminess)
- 1 cup powdered sugar (sifted for a smoother texture)
- 1 (8 oz.) container whipped topping (such as Cool Whip; make sure it’s thawed)
- 1 (3 oz.) package instant chocolate pudding (you can use sugar-free if preferred)
- 1 (3 oz.) package instant vanilla pudding (feel free to experiment with flavors)
- 3 ½ cups milk (whole milk makes it richer, but any milk will do)
- 1 (8 oz.) container whipped topping (for the top layer, same as above)
- 1 Hershey bar (grated) or chocolate syrup for drizzling (optional but adds a lovely touch)
Step-by-Step Instructions
Prepare the Brownie Layer
- Start by preheating your oven according to the instructions on the brownie mix box. It’s usually around 350°F (175°C).
- In a mixing bowl, prepare the brownie mix as directed, adding the extra-large egg as required. Don’t forget to give it a good stir until all the ingredients are well combined — it should look nice and smooth!
- Spread the brownie mixture evenly into a greased baking dish. Make sure it’s well-coated so nothing sticks!
- Bake in the preheated oven for the time recommended on the box, usually about 20 to 30 minutes. You want that toothpick to come out clean — but don’t overbake! A little fudginess makes it divine.
- Once baked, remove the brownies from the oven and let them cool completely in the pan on a wire rack. Patience is key here; the layers need to chill together perfectly!
Make the Cream Cheese Layer
- While the brownies are cooling, grab a mixing bowl and add the softened cream cheese. Use a hand mixer or a whisk to mix it until it’s creamy and smooth.
- Slowly add the powdered sugar to the cream cheese, mixing thoroughly until it’s fully incorporated. You want it to be fluffy and sweet but not overly sugary — it’ll balance the richness of the brownies!
- Next, gently fold in one container of whipped topping into the cream cheese mixture. Be careful not to deflate it too much; we want that light and airy texture!
Prepare the Pudding Layer
- In a separate bowl, whisk together the instant chocolate and vanilla puddings with the 3½ cups of milk. Keep whisking until the mixture thickens up nicely — it should take about 2 minutes!
- Once thickened, set this bowl aside. It’s okay if it looks a bit wobbly; that’s just the pudding being pudding!
Assemble the Cake
- Now it’s time to layer! Start by spreading the cream cheese mixture evenly over the cooled brownie layer. Use a spatula to make it nice and smooth. Try not to disturb the brownie too much, but if it happens, no worries — it’ll still taste amazing!
- Next, gently pour the thick pudding mixture over the cream cheese layer, spreading it out uniformly. You want to see those beautiful layers as you cut into the cake later.
- Finally, top it all off with the remaining container of whipped topping. Spread it evenly and don’t be shy — this is where the magic happens!
Chill the Cake
- Once the cake is fully assembled, cover it with plastic wrap or a lid and pop it into the refrigerator. Let it chill for at least 4 hours, but if you can wait overnight, it’s even better. The flavors meld together beautifully while chilling!
- Before serving, feel free to sprinkle grated Hershey bar or drizzle chocolate syrup on top for that extra special touch. It’ll look gorgeous and taste even better!
Variations
- Swap the chocolate pudding for butterscotch or vanilla for a different flavor profile.
- Make it gluten-free by using a gluten-free brownie mix and checking other ingredients.
- Add crushed Oreos or peppermint extract for a festive twist during the holidays.
- For a lighter version, use reduced-fat cream cheese and whipped topping.
- Incorporate fresh berries between layers for a burst of freshness!
Serving and Storage Tips
Serving
When serving your Brownie Refrigerator Cake, cut it into generous squares or rectangles. A sharp knife helps keep those layers intact! Garnish with a sprinkle of grated chocolate or a drizzle of chocolate syrup for a pretty touch. It’s best enjoyed chilled, so keep it in the fridge until you’re ready to serve!
Storage
Store any leftover cake in an airtight container in the refrigerator for up to 3 days. If you need to keep it longer, you can freeze individual slices for up to 2 months. Just wrap them tightly in plastic wrap and foil to prevent freezer burn!
Helpful Notes
- For a richer flavor, use full-fat cream cheese and whipped topping.
- Low-fat options can be used for a lighter version, but texture may vary slightly.
- If you’re dairy-free, try using coconut cream or a non-dairy whipped topping.
- Feel free to add a splash of vanilla extract to the cream cheese mixture for extra flavor.
- Consider adding crushed nuts or chocolate chips to the brownie layer for added texture.
Frequently Asked Questions
Can I freeze the Brownie Refrigerator Cake?
Yes, you can freeze the Brownie Refrigerator Cake! Just wrap individual slices tightly in plastic wrap and then in aluminum foil. It will keep well in the freezer for up to 2 months. When you're ready to enjoy it, let it thaw in the fridge overnight.
What can I substitute for cream cheese?
If you're looking for a substitute for cream cheese, you can use mascarpone cheese or cottage cheese blended until smooth. For a dairy-free option, try using cashew cream or a dairy-free cream cheese alternative available at many grocery stores.
How long does the cake last in the fridge?
The Brownie Refrigerator Cake will last in the fridge for about 3 days when stored in an airtight container. After that, it may start to lose its freshness and texture.
Can I use a different flavor of pudding?
Absolutely! Feel free to swap the chocolate and vanilla puddings for other flavors like butterscotch, banana, or even strawberry. Just make sure the flavors complement each other and the brownie base!
Is this recipe suitable for gluten-free diets?
Yes, you can make this recipe gluten-free by using a gluten-free brownie mix. Just check that all other ingredients, like the instant puddings and whipped topping, are also gluten-free to ensure everyone can enjoy this delicious dessert!
Final Thoughts
I really hope you give this Brownie Refrigerator Cake a try because it’s such a delightful treat! Whether you’re celebrating a special occasion or just looking for a sweet pick-me-up, this layered dessert will surely bring smiles to your table. Remember, cooking is all about having fun and making memories, so don’t be afraid to get a little messy along the way. Your loved ones will appreciate the effort, and you’ll feel so proud serving this delicious creation. So gather your ingredients and let the magic happen — I can’t wait for you to taste it!
Print
Brownie Refrigerator Cake
- Total Time: 4 hours 30 minutes
- Yield: 12 servings 1x
- Diet: Vegetarian
Description
A delicious and easy Brownie Refrigerator Cake with layers of brownie, cream cheese, and pudding.
Ingredients
- 1 box brownie mix (prepared according to package instructions)
- 1 extra-large egg (or as required by brownie mix)
- 1 (8 oz.) package cream cheese, softened
- 1 cup powdered sugar
- 1 (8 oz.) container whipped topping
- 1 (3 oz.) package instant chocolate pudding
- 1 (3 oz.) package instant vanilla pudding
- 3 ½ cups milk
- 1 (8 oz.) container whipped topping
- 1 Hershey bar (grated) or chocolate syrup for drizzling
Instructions
- Prepare the brownie mix according to package instructions, using the extra-large egg.
- Spread the brownie mixture into a baking dish and bake as directed. Allow to cool.
- In a bowl, mix the softened cream cheese and powdered sugar until smooth.
- Fold in 1 container of whipped topping into the cream cheese mixture.
- Spread the cream cheese layer over the cooled brownie layer.
- In another bowl, whisk together the instant chocolate and vanilla puddings with 3 ½ cups of milk until thick.
- Spread the pudding mixture over the cream cheese layer.
- Top with the remaining container of whipped topping.
- Grate the Hershey bar or drizzle chocolate syrup on top.
- Refrigerate for at least 4 hours before serving.
Notes
- For best flavor, let the cake chill overnight.
- Use your favorite brownie mix for a personalized touch.
- Prep Time: 30 minutes
- Cook Time: 30 minutes
- Category: Dessert
- Method: Refrigerate
- Cuisine: American
Nutrition
- Serving Size: 1 slice
- Calories: 320
- Sugar: 25g
- Sodium: 250mg
- Fat: 15g
- Saturated Fat: 8g
- Unsaturated Fat: 5g
- Trans Fat: 0g
- Carbohydrates: 45g
- Fiber: 2g
- Protein: 4g
- Cholesterol: 45mg
Keywords: Brownie Refrigerator Cake, layered dessert, chocolate dessert

Leave a Reply