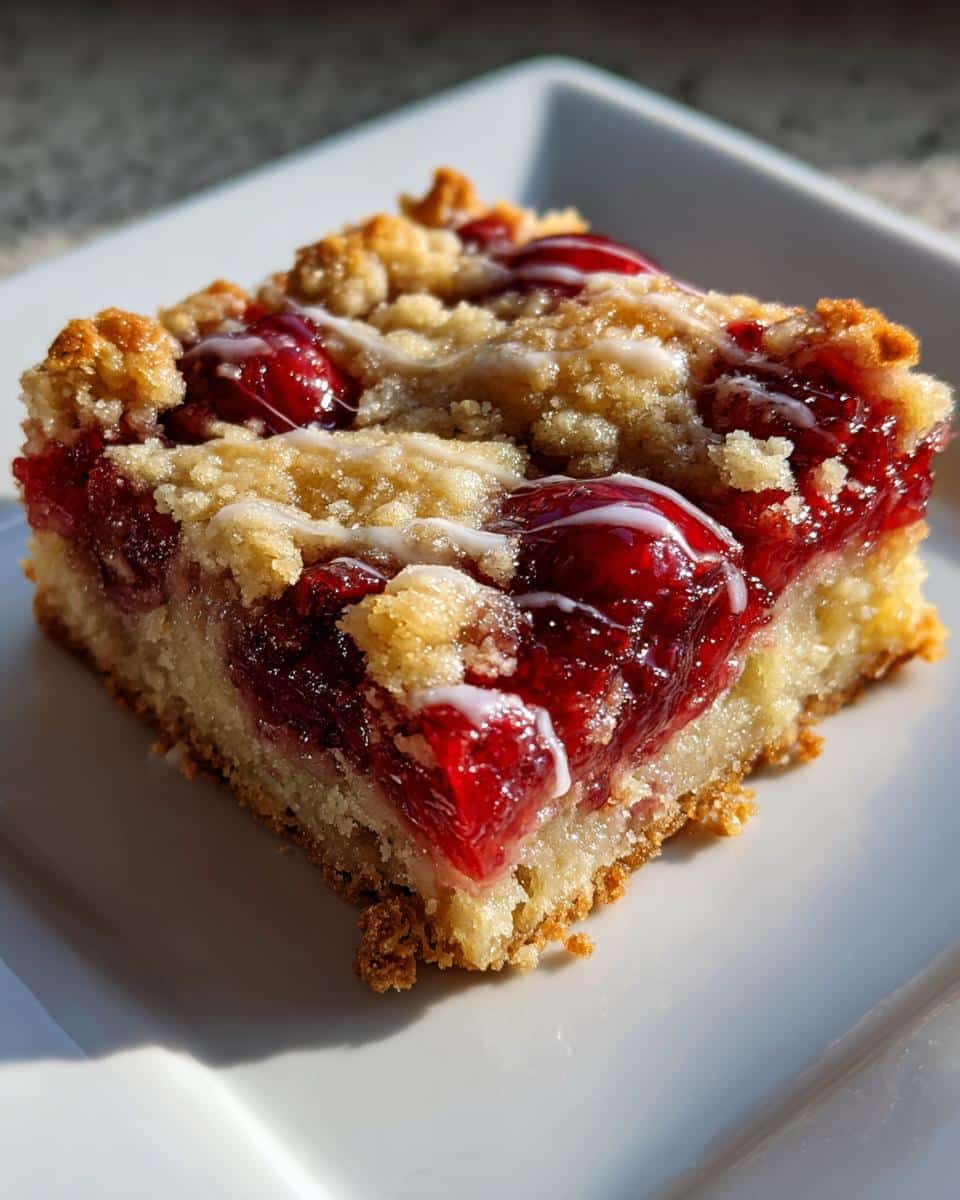
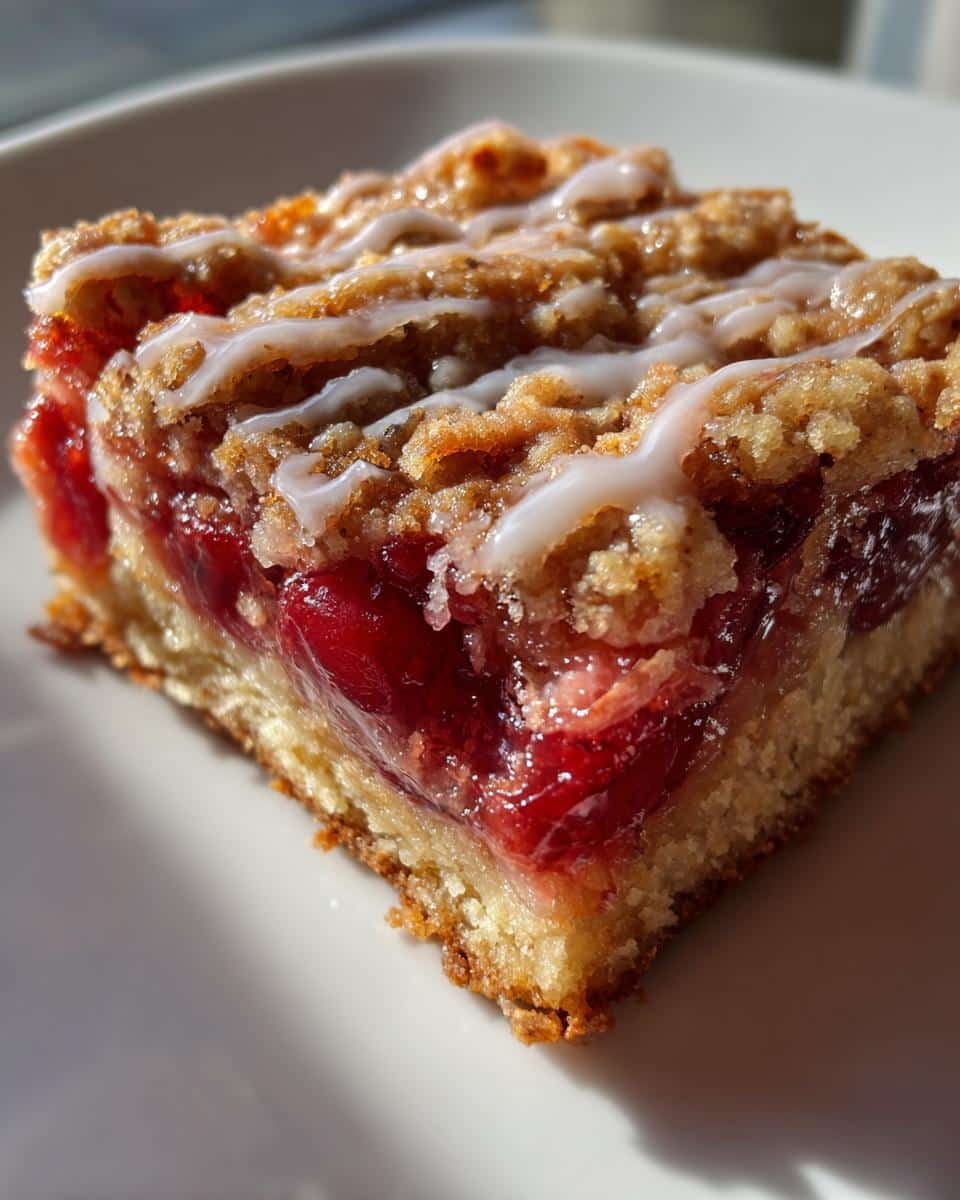
Oh, let me tell you about my absolute favorite dessert hack - Cherry Pie Bars! These little beauties give you all the cozy, fruity goodness of cherry pie without the fuss of rolling out crust. I first made them for a chaotic family reunion last summer when I needed something quick but impressive. The pan disappeared faster than you can say "seconds please!" Now they're my go-to for potlucks, bake sales, or just those nights when you need a sweet treat without turning your kitchen into a flour bomb. The best part? They come together with simple ingredients you probably already have in your pantry.

Why You’ll Love These Cherry Pie Bars
Trust me, once you try these bars, you'll wonder why you ever bothered with traditional pie crust. Here's what makes them irresistible:
- No rolling pin required! Just press the dough into the pan - no fighting with floury countertops
- Perfect for sharing at picnics or parties (no plates or forks needed!)
- That glorious cherry flavor in every bite, with a buttery shortbread-like base
- Easy to customize - swap in different pie fillings if you're feeling adventurous
- Makes your house smell heavenly while baking (seriously, neighbors might drop by)
Ingredients for Cherry Pie Bars
Here's what you'll need to make these irresistible cherry pie bars - I promise it's all simple stuff!
- For the dough: 1 cup unsalted butter (softened!), 2 cups granulated sugar, 1 teaspoon vanilla extract, 4 large eggs, 3 cups all-purpose flour, 1 teaspoon salt
- For the filling: 1 can (21 oz) cherry pie filling (or homemade if you're feeling fancy)
- For the glaze: 1 cup powdered sugar, 1-2 tablespoons milk, ½ teaspoon vanilla extract
Ingredient Notes & Substitutions
Don't stress if you need to swap things out - baking should be fun!
- Butter: Must be softened (leave it out for 30 minutes). Margarine works in a pinch but won't taste as rich.
- Flour: A 1:1 gluten-free blend works great if needed.
- Cherry filling: Any berry pie filling works beautifully - try blueberry or raspberry!
- Milk: Any kind works for the glaze, even almond or oat milk.
Equipment You’ll Need
Don’t worry—you don’t need anything fancy for these cherry pie bars! Just grab:
- A trusty 9x13-inch baking pan (metal or glass both work)
- Parchment paper or a light greasing of butter (for easy removal)
- A large mixing bowl and a sturdy spoon (or electric mixer if you’re feeling lazy)
- A whisk for that dreamy glaze
That’s it! No special tools—just good old-fashioned baking vibes.
How to Make Cherry Pie Bars
Alright, let's get baking! These cherry pie bars come together in just a few simple steps. Follow along and you'll have a delicious dessert ready before you know it.
Step 1: Prepare the Dough
First things first - preheat that oven to 350°F (175°C). While it's warming up, let's make the dough. Grab your softened butter and sugar - cream them together in a big bowl until they're light and fluffy. This is key for that perfect texture! Then beat in the eggs one at a time, followed by the vanilla. Go slow here - we want everything nicely incorporated.
Now gradually add your flour and salt, stirring just until a soft dough forms. Don't overmix! The dough should be slightly sticky but hold together when pressed. So simple, right?
Step 2: Layer the Cherry Filling
Here's where the magic happens! Take about ⅔ of that lovely dough and press it evenly into your prepared 9x13-inch pan. Really get it into the corners - I like to use slightly damp fingers to prevent sticking.
Now spoon that gorgeous cherry filling over the dough layer. Try to distribute it evenly - no cherry pile-ups in one corner! Then take the remaining dough and drop little spoonfuls randomly over the top. Don't worry about covering completely - it'll spread as it bakes into beautiful golden islands of dough.
Step 3: Bake and Glaze
Pop that beauty in the oven for 35-40 minutes. You'll know it's done when the top is lightly golden and the edges are just starting to pull away from the pan. Let it cool completely before glazing - patience is hard, but it's worth it!
For the glaze, whisk together powdered sugar, milk and vanilla until smooth. You want it thick but pourable - add milk a teaspoon at a time until it's just right. Drizzle it artfully (or enthusiastically!) over the cooled bars. Now slice into squares and try not to eat three at once!
Tips for Perfect Cherry Pie Bars
Want bakery-worthy results every time? Here are my tried-and-true secrets:
- Chill the dough for 15 minutes if it's too sticky to handle - makes pressing into the pan a breeze!
- Use the toothpick test - a few moist crumbs means it's perfect, clean means overbaked
- Let it cool completely before slicing - I know it's hard to wait, but you'll get cleaner cuts
- Double the glaze if you're feeling extra indulgent (I always do!)
Serving and Storing Cherry Pie Bars
Oh, these bars are heavenly served slightly warm with a scoop of vanilla ice cream melting over the top - pure bliss! For storage, just pop them in an airtight container at room temperature. They'll stay fresh for about 3 days (if they last that long!). You can also freeze them for up to 2 months - just thaw at room temperature when that cherry craving hits again.
Cherry Pie Bars Nutrition Information
Okay, let's be real - we're not eating cherry pie bars for their health benefits! But here's the scoop per bar (based on cutting into 16 pieces): about 290 calories, 12g fat (7g saturated), and 42g carbs. Of course, these numbers might dance around a bit depending on your exact ingredients - homemade filling or extra glaze will change things up. Everything in moderation, right? Now go enjoy that cherry goodness!
FAQs About Cherry Pie Bars
Can I use fresh cherries instead of pie filling?
Absolutely! You'll need about 4 cups pitted cherries mixed with ½ cup sugar and 2 tablespoons cornstarch. Simmer until thickened - just like making your own pie filling. The texture will be slightly different but delicious!
How do I freeze these bars?
Freeze them unglazed for best results. Wrap cooled bars tightly in plastic wrap, then foil. They'll keep beautifully for 2 months. Thaw at room temperature and add glaze when ready to serve.
Why is my dough sticky?
Don't worry - it's supposed to be! Just chill it for 15 minutes if it's too hard to handle. Pro tip: Lightly wet your fingers when pressing it into the pan to prevent sticking.
Can I make these gluten-free?
You bet! Swap the all-purpose flour for your favorite 1:1 gluten-free blend. The texture might be slightly more crumbly, but they'll still taste amazing.
I'd love to hear how your cherry pie bars turn out! Tag me @MyKitchenAdventures so I can see your creations - nothing makes me happier than seeing bakers enjoying this recipe as much as I do.
Print
Irresistible Cherry Pie Bars That Steal the Show
- Total Time: 1 hour
- Yield: 16 bars 1x
- Diet: Vegetarian
Description
Cherry Pie Bars are a delicious and easy dessert that combines the flavors of cherry pie with the convenience of a bar. Perfect for any occasion.
Ingredients
- 1 cup unsalted butter, softened
- 2 cups granulated sugar
- 1 teaspoon vanilla extract
- 4 large eggs
- 3 cups all-purpose flour
- 1 teaspoon salt
- 1 can (21 oz) cherry pie filling
- 1 cup powdered sugar
- 1–2 tablespoons milk
- ½ teaspoon vanilla extract
Instructions
- Preheat oven to 350°F (175°C). Lightly grease or line a 9x13-inch baking pan with parchment paper.
- In a large bowl, cream together the softened butter and granulated sugar until light and fluffy.
- Beat in the eggs one at a time, then add vanilla extract. Mix until fully combined.
- Gradually add the flour and salt, stirring until a soft dough forms.
- Spread about ⅔ of the dough into the prepared baking pan, pressing it evenly across the bottom.
- Spoon the cherry pie filling evenly over the dough layer.
- Drop spoonfuls of the remaining dough over the top of the cherry layer. It won’t cover completely, but it will spread as it bakes.
- Bake for 35–40 minutes, or until the top is lightly golden and set. Let cool completely in the pan.
- For the glaze, whisk together powdered sugar, milk, and vanilla extract until smooth. Drizzle over the cooled bars.
- Slice into squares and enjoy!
Notes
- You can use homemade cherry pie filling if desired.
- Store leftovers in an airtight container at room temperature for up to 3 days.
- Prep Time: 20 minutes
- Cook Time: 40 minutes
- Category: Dessert
- Method: Baking
- Cuisine: American
Nutrition
- Serving Size: 1 bar
- Calories: 290 kcal
- Sugar: 25g
- Sodium: 150mg
- Fat: 12g
- Saturated Fat: 7g
- Unsaturated Fat: 4g
- Trans Fat: 0g
- Carbohydrates: 42g
- Fiber: 1g
- Protein: 3g
- Cholesterol: 70mg
Keywords: cherry pie bars, dessert, easy recipe, cherry dessert


Leave a Reply