You know those sweet, cozy memories that come flooding back when you catch a whiff of something delicious? That’s exactly how I feel every time I make Cherry Pie Bombs. Growing up, my grandma would whip these up on lazy Sunday afternoons, filling the kitchen with the smell of warm cherries and cinnamon. We’d gather around the table, each of us eagerly waiting for our turn to dive into those warm, gooey bites of goodness. They were little pockets of happiness, and I can’t help but smile every time I make them.

Cherry Pie Bombs are the perfect treat for any occasion, whether you’re hosting a gathering, celebrating a birthday, or just want something sweet to brighten up a regular day. With their flaky exterior and sweet, tangy filling, they’re bound to bring a smile to anyone’s face. Plus, they’re super easy to whip up, making them a go-to recipe in my house. So, let’s roll up our sleeves and get started on this delightful journey!
Why You’ll Love Cherry Pie Bombs
- Quick and easy to make, ready in just 35 minutes!
- Minimal ingredients mean less fuss and more fun in the kitchen.
- Family-friendly treat that kids and adults alike will adore.
- Perfect for gatherings, parties, or simply a cozy night in.
- Freezer-friendly, so you can enjoy them anytime the craving hits!
Ingredients You’ll Need
- 1 (16.3 oz) can refrigerated biscuit dough (like Pillsbury Grands is my favorite for that perfect flakiness)
- 1 (21 oz) can cherry pie filling (look for a brand with whole cherries for the best texture)
- ¼ cup granulated sugar (this is for a sweet crunch on the outside)
- 1 teaspoon cinnamon (optional, but it adds a lovely warmth)
- 2 tablespoons melted butter (for that golden coating)
- Powdered sugar or whipped cream (optional, for serving – because who doesn’t love a little extra sweetness?)
Step-by-Step Instructions
Preheat the Oven
- First things first, let’s get that oven preheating! Set it to 375°F (190°C) so it’s nice and hot when our Cherry Pie Bombs are ready to go in.
Prepare the Biscuit Dough
- Open your can of refrigerated biscuit dough. Be careful, those pop cans can surprise you!
- Gently separate each biscuit; they should come apart easily. Place them on a clean surface or a cutting board to get ready for shaping.
Shape the Bombs
- Now, it’s time to flatten each biscuit. Use your hands or a rolling pin to create a circle that’s about 4 inches wide. Don’t worry if they’re not perfect circles; a little imperfection adds character!
- Take a spoonful of cherry pie filling and place it right in the center of each circle. Don’t go overboard—too much filling can make a mess when baking!
Seal and Coat
- Carefully fold the dough over the filling, creating a half-moon shape. Pinch the edges together to seal them tightly. You want to make sure none of that delicious filling escapes!
- Now, dip each sealed bomb into the melted butter, making sure they’re well coated. This is what gives them that beautiful golden finish!
- Next, roll each bomb in the sugar and cinnamon mixture. This adds a delightful sweet crunch that’s simply irresistible.
Bake the Bombs
- Line a baking sheet with parchment paper and place your sugar-coated bombs on it, giving them a little space to breathe.
- Pop them in the oven and bake for 15-20 minutes, or until they’re golden brown and bubbly. You’ll know they’re ready when your kitchen starts smelling heavenly!
Variations
- Try using blueberry or peach pie filling for a fruity twist!
- Add a sprinkle of almond extract to the cherry filling for extra flavor.
- For a lighter version, use reduced-fat biscuit dough.
- Make them gluten-free by using gluten-free biscuit dough.
- Experiment with a drizzle of chocolate on top after baking for a decadent touch.
Serving and Storage Tips
Serving
Serve your Cherry Pie Bombs warm, dusted with powdered sugar or drizzled with whipped cream for that extra touch of sweetness. They’re delightful on their own or paired with a scoop of vanilla ice cream. Perfect for sharing at parties or enjoying as a cozy dessert after dinner!
Storage
To keep leftovers fresh, store them in an airtight container at room temperature for up to two days. If you need to keep them longer, pop them in the fridge for up to a week. Reheat in the oven or microwave before serving for that just-baked taste!
Helpful Notes
- If you don’t have cinnamon, feel free to leave it out or substitute with nutmeg for a different flavor.
- For a dairy-free option, use a dairy-free biscuit dough and coconut oil instead of butter.
- Add a tablespoon of lemon juice to the cherry filling for a zesty kick.
- Consider adding mini chocolate chips inside for a chocolate cherry combo!
- These bombs are best enjoyed fresh, but can be reheated for a quick treat.
Frequently Asked Questions
Can Cherry Pie Bombs be frozen?
Yes, you can freeze Cherry Pie Bombs! After baking, let them cool completely, then place them in an airtight container or freezer bag. They can be stored in the freezer for up to three months. When you’re ready to enjoy them, simply reheat in the oven at 350°F (175°C) until warmed through.
What can I substitute for biscuit dough?
If you don’t have biscuit dough, you can use crescent roll dough or even puff pastry for a flakier texture. Both options will still yield delicious results! Just be sure to adjust your baking time accordingly.
How can I make Cherry Pie Bombs gluten-free?
To make your Cherry Pie Bombs gluten-free, look for gluten-free biscuit dough at the store. Many brands offer great options that rise and bake beautifully. Just make sure to check the ingredient labels to avoid any allergens!
Final Thoughts
There you have it! Cherry Pie Bombs are not just a recipe; they’re a little piece of joy that you can share with family and friends. Whether you're reminiscing about sweet moments from the past or creating new memories, these delightful treats are sure to bring smiles all around. I truly hope you try making them soon; I promise they’ll be a hit! So gather your loved ones, roll up your sleeves, and dive into the deliciousness of these cherry-filled wonders. Happy baking, and enjoy every sweet bite!
Print
Cherry Pie Bombs
- Total Time: 35 minutes
- Yield: 8 servings 1x
- Diet: Vegetarian
Description
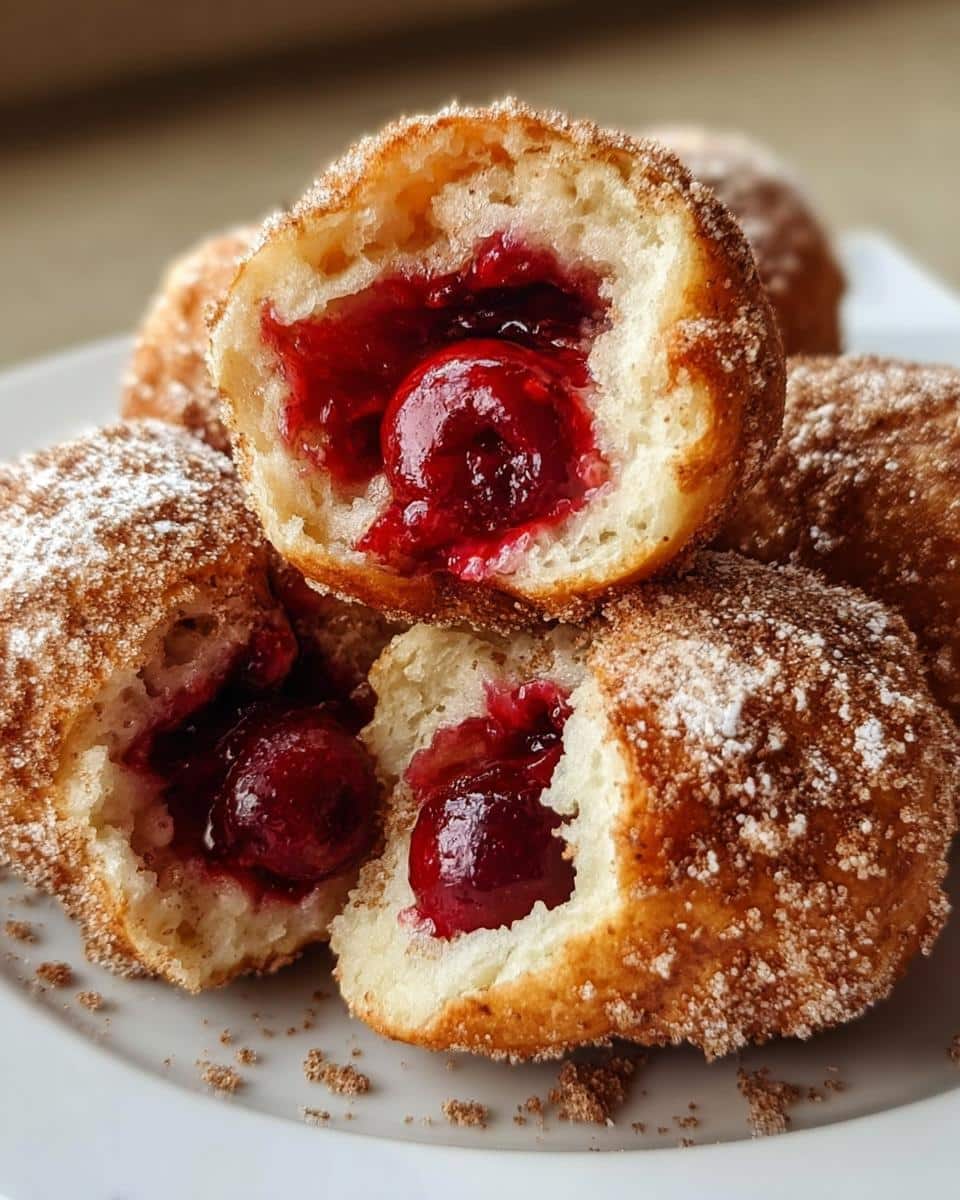
Cherry Pie Bombs are a delicious treat filled with cherry pie filling, wrapped in biscuit dough, and baked to perfection.
Ingredients
- 1 (16.3 oz) can refrigerated biscuit dough (like Pillsbury Grands)
- 1 (21 oz) can cherry pie filling
- ¼ cup granulated sugar
- 1 teaspoon cinnamon (optional)
- 2 tablespoons melted butter
- Powdered sugar or whipped cream (optional, for serving)
Instructions
- Preheat your oven to 375°F (190°C).
- Open the biscuit dough and separate the biscuits.
- Flatten each biscuit into a circle.
- Add a spoonful of cherry pie filling to the center of each circle.
- Fold the dough over the filling and pinch to seal.
- Dip each bomb in melted butter, then roll in a mixture of sugar and cinnamon.
- Place the bombs on a baking sheet lined with parchment paper.
- Bake for 15-20 minutes until golden brown.
- Serve warm with powdered sugar or whipped cream if desired.
Notes
- Ensure the filling is not too full to avoid spilling.
- Experiment with other fruit fillings if desired.
- Store leftovers in an airtight container.
- Prep Time: 15 minutes
- Cook Time: 20 minutes
- Category: Dessert
- Method: Baking
- Cuisine: American
Nutrition
- Serving Size: 1 bomb
- Calories: 180
- Sugar: 8g
- Sodium: 320mg
- Fat: 7g
- Saturated Fat: 3g
- Unsaturated Fat: 3g
- Trans Fat: 0g
- Carbohydrates: 26g
- Fiber: 1g
- Protein: 2g
- Cholesterol: 10mg
Keywords: Cherry Pie Bombs, dessert, baking, cherry filling


Leave a Reply