Coffee Ice Cream is a dreamy dessert that blends the bold, rich flavor of coffee with the creamy sweetness of ice cream. The first time I made this no-churn recipe, I couldn’t believe how easy it was—and how deeply satisfying that coffee kick was in each velvety bite. It’s the perfect treat for coffee lovers and a sophisticated twist on classic ice cream.

Whether you're a die-hard espresso enthusiast or someone who enjoys the occasional mocha, this coffee ice cream is sure to win you over. Its smooth, luscious texture and deep coffee flavor create a dessert that feels elegant yet is incredibly easy to prepare. And because it’s a no-churn recipe, there’s no need for fancy appliances—just a hand mixer, a bowl, and your freezer.
Ideal for summer afternoons, dinner party desserts, or whenever you're craving a chilled caffeine boost, this ice cream comes together with just a few ingredients. It’s endlessly adaptable, letting you get creative with mix-ins, toppings, or flavor tweaks. You can enjoy it on its own, pair it with a warm brownie, or sandwich it between cookies for an indulgent ice cream sandwich.
Why You’ll Love Coffee Ice Cream
- No churn needed: No fancy equipment—just a hand mixer and a freezer.
- Bold coffee flavor: Instant coffee or espresso powder packs a punch without brewing.
- Super creamy: Whipping cream and condensed milk make a rich, silky base.
- Quick to make: Only 10 minutes of prep time and a few hours of chill time.
- Perfect make-ahead dessert: Keeps well in the freezer for weeks.
- Customizable: Add chocolate chips, caramel swirls, or your favorite liqueur.
- Elegant and indulgent: Great for impressing guests with minimal effort.
Ingredients You’ll Need
- 350 ml whipping cream (cold, for best results)
- 3 tablespoons instant coffee (adjust to taste)
- 290 ml sweetened condensed milk (one standard can)
- Chocolate for decorating (optional – melted or shaved)
Optional Add-ins:
- ½ cup mini chocolate chips
- 1–2 tablespoons coffee liqueur or Baileys
- Crushed chocolate cookies or toffee bits
Step-by-Step Instructions
- Mix Coffee and Condensed Milk:
- In a large bowl, stir the instant coffee into the sweetened condensed milk.
- Mix thoroughly until all the coffee granules dissolve and the mixture is smooth.
- If using coffee liqueur, stir it in now for an extra depth of flavor.
- Whip the Cream:
- In a separate bowl, whip the cold whipping cream using a hand mixer or stand mixer.
- Whip until stiff peaks form—this helps create the light, airy texture of traditional ice cream.
- Combine:
- Gently fold the whipped cream into the coffee-condensed milk mixture.
- Use a spatula and fold slowly to keep the mixture airy and smooth.
- If using any mix-ins like chocolate chips or cookie crumbs, fold them in now.
- Transfer and Decorate:
- Pour the ice cream mixture into a freezer-safe loaf pan or container.
- Smooth the top with a spatula.
- Optionally, drizzle melted chocolate over the top or sprinkle with shaved chocolate for a decorative touch.
- Freeze:
- Cover the container tightly with a lid or plastic wrap.
- Freeze for at least 6 hours, or overnight, until firm.
Serving and Storage Tips
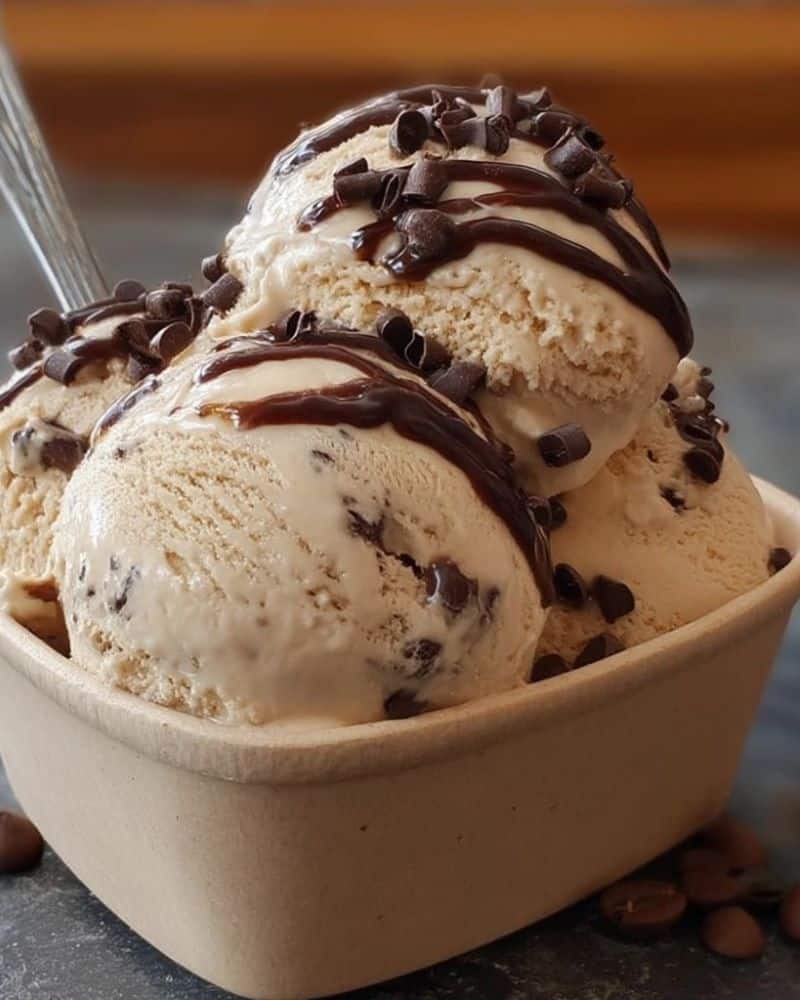
- Serving Suggestions: Scoop into bowls or cones. Garnish with chocolate-covered espresso beans, a sprinkle of cocoa powder, or a drizzle of caramel.
- Perfect Pairings: Serve alongside brownies, chocolate cake, or biscotti.
- Storage: Store in a sealed container in the freezer for up to 2 weeks.
- Texture Tip: Let sit at room temperature for 5–10 minutes before scooping for the creamiest texture.
- Batch Tip: Double the recipe for parties or keep small single-serve containers on hand.
Helpful Notes
- Stronger coffee flavor: Substitute espresso powder or increase the instant coffee to 4 tablespoons.
- Add-ins: Get creative with your favorite mix-ins—try caramel swirls, crushed Oreos, or chopped nuts.
- Liqueur twist: Coffee liqueur or Irish cream adds flavor and helps keep the texture soft.
- Dairy-free option: Use chilled coconut cream and a vegan condensed milk alternative for a plant-based treat.
- Serving hack: Dip your ice cream scoop in warm water for smooth, easy scoops.
Frequently Asked Questions
- Can I use brewed coffee instead of instant?
No, brewed coffee adds too much liquid and will prevent the mixture from freezing properly. Stick to instant or espresso powder for best results. - How long does it last in the freezer?
It will stay fresh for up to 2 weeks, though it's usually eaten much faster! - Can I use decaf coffee?
Absolutely. You’ll still get all the delicious coffee flavor without the caffeine kick. - How do I prevent ice crystals?
Whip the cream well, use full-fat ingredients, and cover the container tightly. - Can I make this in an ice cream maker instead?
Yes, but it’s really not necessary. The no-churn method gives you equally creamy results with less effort.
Final Thoughts
Coffee Ice Cream is a decadent, easy-to-make dessert that brings coffee shop flavor to your freezer. Whether you're looking for a casual treat or an elegant finale to a dinner party, this ice cream hits the mark. It’s a reliable go-to for coffee lovers and dessert enthusiasts alike.
With its rich, creamy texture and bold coffee flavor, it's sure to become a favorite in your frozen dessert lineup. Try it as-is, dress it up with toppings, or sandwich it between cookies—there’s no wrong way to enjoy it. If you make it, I’d love to know! Leave a comment or share your creation online. Happy scooping!
Print
Coffee Ice Cream
- Total Time: 6 hours 10 minutes
- Yield: 6 1x
Description
A no-churn, ultra-creamy coffee ice cream packed with bold flavor and made with just four ingredients. It’s the perfect frozen treat for any coffee lover!
Ingredients
- 350 ml whipping cream (cold)
- 3 tablespoons instant coffee (adjust to taste)
- 290 ml sweetened condensed milk
- Chocolate for decorating (optional – melted or shaved)
Optional Add-ins:
- ½ cup mini chocolate chips
- 1 –2 tablespoons coffee liqueur or Baileys
- Crushed cookies or toffee bits
Instructions
- Mix instant coffee into condensed milk until dissolved.
- Whip cream until stiff peaks form.
- Fold whipped cream into coffee mixture.
- Add any optional mix-ins.
- Pour into freezer-safe container, smooth top, and decorate.
- Freeze at least 6 hours or overnight until firm.
Notes
-
For stronger flavor, use espresso powder.
-
Let soften 5–10 minutes before scooping.
-
Use coconut cream and vegan condensed milk for dairy-free.
-
Add liqueur for a grown-up twist.
- Prep Time: 10 minutes
Nutrition
- Calories: 280


Leave a Reply