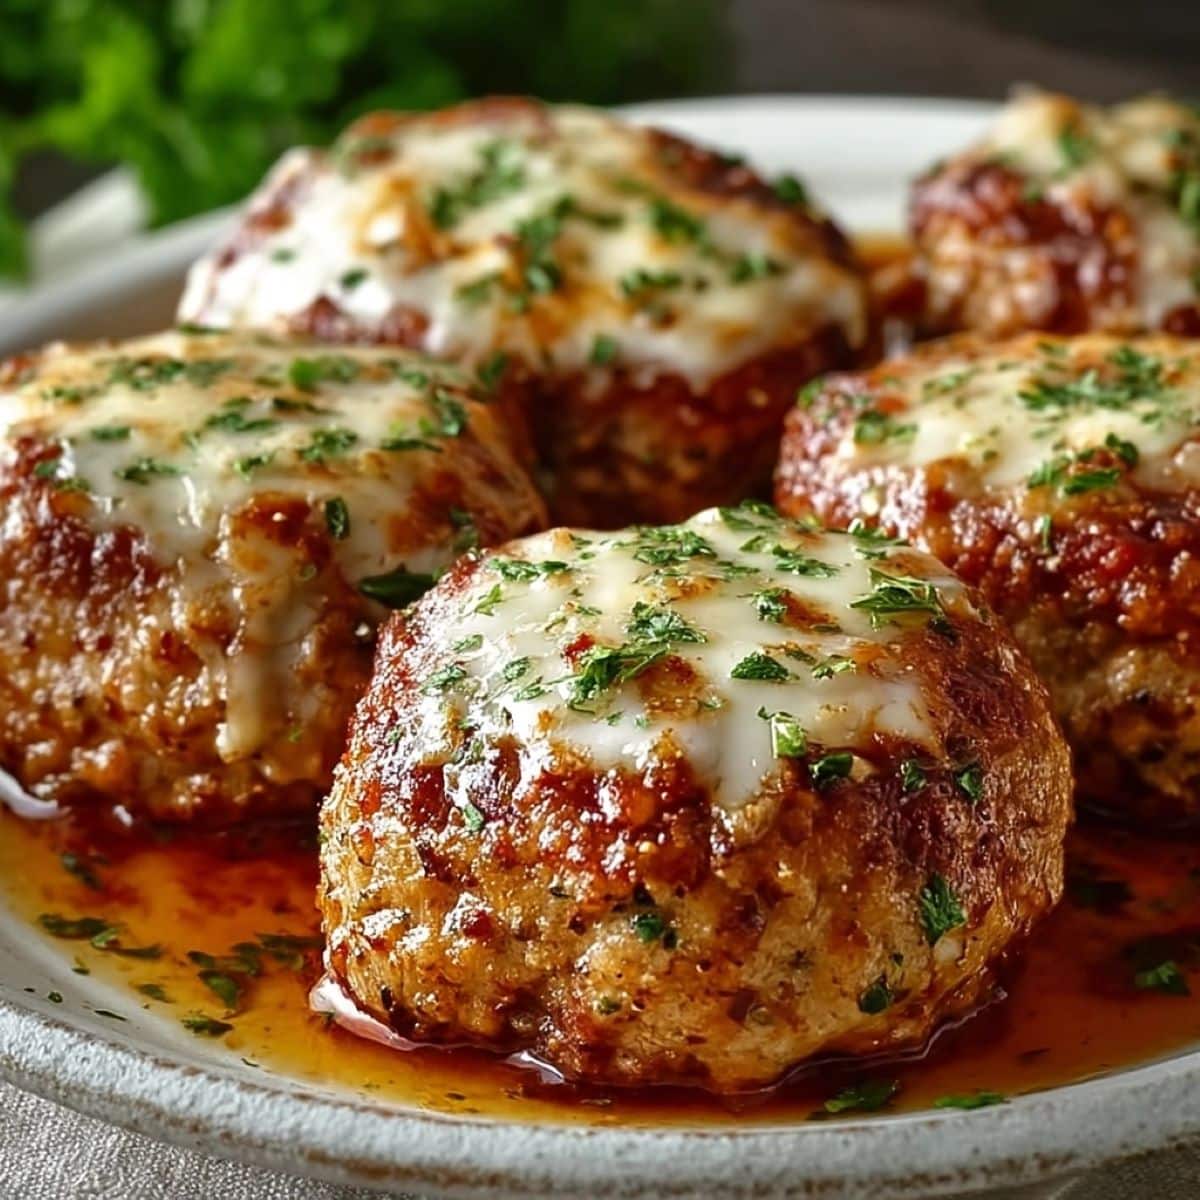
If you're looking for a family-friendly dinner that’s both comforting and packed with flavor, these Garlic Parmesan Meatloaves are a game-changer. Combining juicy ground chicken with rich Parmesan cheese and robust garlic, this recipe delivers a satisfying punch of savory goodness in every bite. Whether you serve them as full-sized loaves or adorable minis, these meatloaves fit any meal plan—from weekday dinners to make-ahead lunches.
What Are Garlic Parmesan Meatloaves?
Garlic Parmesan Meatloaves are a modern twist on the classic meatloaf, combining ground chicken with sharp Parmesan, fragrant garlic, and Italian herbs to create a flavorful, juicy centerpiece. These aren't your grandma’s meatloaf—they're more tender, more aromatic, and way more customizable.
This recipe doesn’t just offer bold flavor. It’s also baked in smaller portions, which cook faster and make serving easier. If you’ve ever been let down by dry, bland meatloaf, this version will change your mind.
Why This Dish Has Become a Weeknight Favorite
There are three reasons home cooks across the U.S. are turning to this dish: it's fast, forgiving, and full of flavor.
First, the prep is simple and can be done in under 15 minutes. All you need is one bowl and a few pantry staples like breadcrumbs, milk, and seasonings. Second, the smaller loaf portions make it easy to portion, serve, and store. Whether you’re cooking for two or prepping a week’s worth of meals, it’s incredibly flexible.
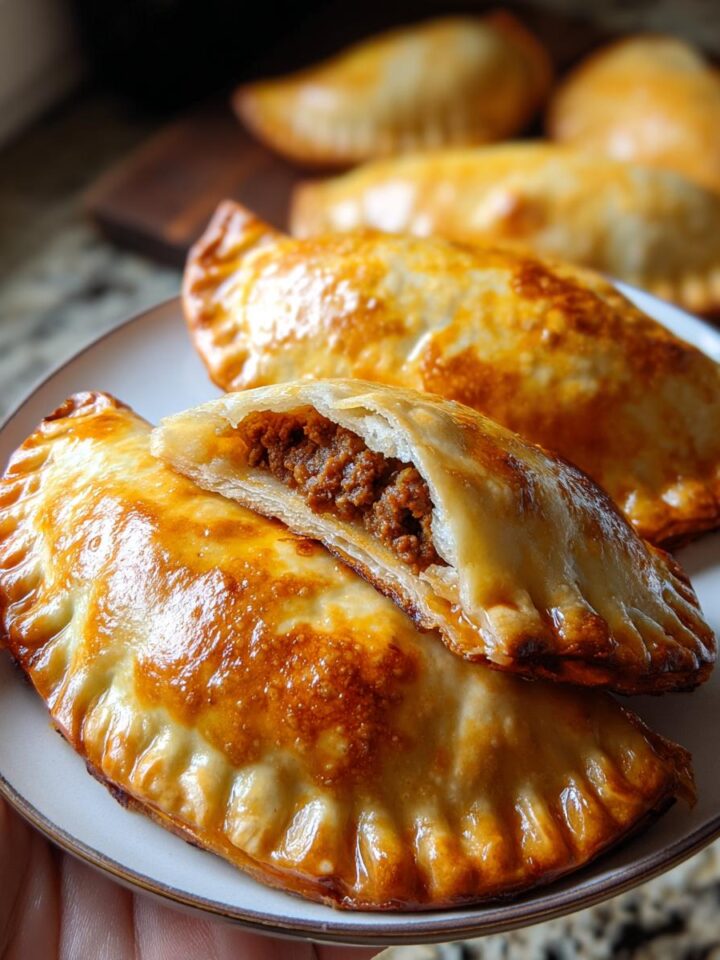
And let’s not forget that combo of garlic and Parmesan. The garlic adds a savory depth, while the Parmesan melts slightly into the meat, locking in flavor. Discover great ideas like these Baked Chicken Burritos if you're craving another hearty, oven-ready meal.
Print
Garlic Parmesan Meatloaves
- Total Time: 45 minutes
- Yield: 6 mini loaves 1x
Description
Juicy and cheesy Garlic Parmesan Meatloaves made with ground chicken, garlic, herbs, and marinara. Quick to prep, easy to bake, and perfect for weeknight dinners or meal prep.
Ingredients
Main Meatloaf Mix
- 1 pound ground chicken
- ½ cup grated Parmesan cheese
- ½ cup breadcrumbs
- 2 garlic cloves (minced)
- 1 egg
- ¼ cup milk
- 1 tablespoon fresh parsley (chopped)
- 1 teaspoon dried oregano
- 1 teaspoon onion powder
- Salt and pepper (to taste)
Topping
- ¼ cup marinara sauce
- ¼ cup shredded mozzarella cheese
Instructions
- Preheat oven to 375°F (190°C). Lightly grease a muffin tin or baking tray.
- In a large bowl, combine ground chicken, Parmesan, breadcrumbs, minced garlic, egg, milk, parsley, oregano, onion powder, salt, and pepper. Mix until just combined.
- Divide the mixture evenly into 6 mini loaves or scoop into muffin tin wells.
- Bake for 25–30 minutes or until the internal temperature reaches 165°F (74°C).
- Remove from oven, spoon marinara sauce over each loaf, and sprinkle with shredded mozzarella.
- Return to oven and bake for an additional 5 minutes or until the cheese is melted and slightly golden.
- Let rest for 5 minutes before serving.
Notes
-
Storage: Keep leftovers in an airtight container in the fridge for up to 4 days.
-
Freezer Option: Freeze before or after baking for up to 3 months. Thaw before reheating.
-
Substitutes: Use ground turkey or beef instead of chicken. Almond flour can replace breadcrumbs for a low-carb option.
- Prep Time: 15 minutes
- Cook Time: 30 minutes
- Category: Dinner
- Cuisine: American
Nutrition
- Calories: 280
Keywords: breadcrumbs, Ground chicken, onion powder
Ingredients Breakdown
Essential Ingredients for Garlic Parmesan Meatloaves
The beauty of this dish lies in its simplicity. You don't need fancy or hard-to-find items—just humble ingredients that come together to create big flavor. Here’s a breakdown of what you’ll need:
| Ingredient | Purpose in Recipe |
|---|---|
| Ground chicken (1 lb) | Lean protein base, absorbs flavors well |
| Parmesan cheese (½ cup) | Adds salty umami depth and richness |
| Breadcrumbs (½ cup) | Binds the meatloaf and adds texture |
| Garlic cloves (2, minced) | Provides signature aromatic flavor |
| Egg (1) | Helps hold the mixture together |
| Milk (¼ cup) | Keeps the meat moist and tender |
| Fresh parsley (1 tbsp) | Adds freshness and color |
| Dried oregano (1 tsp) | Gives an Italian-style seasoning layer |
| Onion powder (1 tsp) | Adds savory, onion-like sweetness |
| Salt and pepper | Balances and enhances overall flavor |
| Marinara sauce (¼ cup) | Brushed on top for moisture and tanginess |
| Mozzarella cheese (¼ cup) | Final cheesy topping that browns when baked |
Each ingredient works in harmony—moisture from the milk and egg, flavor from herbs and cheese, structure from the breadcrumbs.
Check out this Italian-inspired twist Garlic Parmesan Cheeseburger Bombs for another creative use of Parmesan and garlic!
Choosing the Right Ground Meat: Chicken vs. Turkey vs. Beef
Although ground chicken is the star here, you can absolutely experiment. Each meat will slightly alter the flavor and texture:
- Ground chicken: Light and tender; absorbs spices well.
- Ground turkey: Lean like chicken but slightly drier—consider extra moisture (e.g., a dash of olive oil or grated zucchini).
- Ground beef: Rich and juicy, but heavier; best if you want a more traditional meatloaf flavor.
For a lower-fat version, go with ground chicken or turkey. Prefer a hearty, more decadent dish? Beef will deliver that comfort food punch.
The Perfect Preparation Technique
Mixing Tips for a Juicy Meatloaf
Getting the texture right is half the battle with meatloaf. Overmixed meat results in dense, rubbery loaves, while undermixing leaves uneven flavor pockets. Here’s how to strike the perfect balance:
- Use your hands: It might feel a little messy, but hand-mixing lets you feel when everything is combined just right. Don’t squeeze—just gently fold the ingredients together.
- Mix wet first: Combine milk, egg, and seasonings before adding the meat. This helps ensure even distribution without overworking the ground chicken.
- Let it rest: After mixing, let the mixture rest in the fridge for 10–15 minutes. This firms it up slightly and allows the breadcrumbs to absorb moisture, resulting in better binding and flavor.
Pro tip: Always preheat your oven to 375°F before you start mixing. That way, you can pop the meatloaves in right after shaping for optimal texture and taste.
Looking for inspiration? Try Avocado Chicken Wraps for another creative take on ground poultry.
Portioning into Mini Loaves or Muffin Tins
Here’s where this recipe becomes ultra-practical: instead of shaping one big loaf, try dividing the mix into individual meatloaves or baking them in a muffin tin. Here’s why:
| Style | Cook Time | Advantages |
|---|---|---|
| Traditional loaf pan | 40–50 minutes | Classic style, great for slicing |
| Mini loaves (by hand) | 25–30 minutes | Faster cooking, easier portions |
| Muffin tin meatloaves | 20–25 minutes | Perfect for kids or meal prepping lunches |
Use a cookie scoop or your hands to shape equal portions. Don’t pack too tightly—loose packing helps with airflow and even cooking.
Garlic and Parmesan Flavor Pairing
The Role of Fresh Garlic vs. Powdered
Garlic is the soul of this meatloaf recipe. But the form you use matters more than you might think. Let’s break down the two main options:
- Fresh garlic (minced): Offers bold, punchy flavor with a bit of bite. Best when you want the garlic to shine through.
- Garlic powder: Milder, blends smoothly into the meat mixture, and is great for picky eaters or when you want a subtle garlic background.
We recommend using fresh garlic in the base for that robust, homemade feel. You can also sprinkle a tiny bit of garlic powder into your marinara topping for an added layer of flavor.
Want something bold? Roast your garlic ahead of time to mellow it out and create a sweet, nutty dimension that makes the meatloaf feel gourmet.
Choosing the Right Parmesan: Freshly Grated vs. Pre-Shredded
When it comes to Parmesan, quality makes a noticeable difference:
| Type | Flavor Profile | Texture Result |
|---|---|---|
| Freshly grated block | Nutty, bold, melts beautifully | Creamy and binds well |
| Pre-shredded (bagged) | Milder, drier, less melt potential | May result in grainy or uneven texture |
We strongly recommend using freshly grated Parmesan straight from a wedge. The richness and sharpness it brings can’t be matched by the pre-packaged versions. And bonus—it usually has fewer additives and anti-caking agents.
If you’re a cheese lover, try mixing in a tablespoon of Romano or Asiago for an extra punch. Don’t miss our cheese-packed recipe Garlic Parmesan Cheeseburger Bombs for another rich, cheesy meal idea.
For an even more decadent finish, combine Parmesan with the mozzarella topping for a dual-cheese crust that crisps and bubbles in the oven.
Baking and Topping Perfection
Oven Temperature and Cooking Time Best Practices
The secret to perfectly cooked Garlic Parmesan Meatloaves? Precision with temperature and timing. Here’s what you need to know:
- Bake at 375°F (190°C) for balanced cooking—high enough to brown the exterior while allowing the inside to cook through.
- Mini loaves: Bake for 25–30 minutes
- Muffin tin portions: Bake for 20–25 minutes
- Full loaf: Bake for 40–50 minutes, then rest for 10 minutes before slicing.
Always check for doneness using a meat thermometer. The internal temp should reach 165°F (74°C) for safe consumption.
If the top starts browning too quickly, tent wi
th foil during the last 10 minutes. This prevents overbaking while keeping moisture locked in.Marinara and Mozzarella: The Finishing Touch
The topping turns this from a meatloaf into a show-stopping main. Here’s how to finish it strong:
- Brush marinara sauce over each loaf for a tangy, moist topping.
- Sprinkle shredded mozzarella cheese generously over the marinara.
- Return to oven for 5 minutes, or until cheese is melted and golden.
For a golden, slightly crispy top, broil the lo
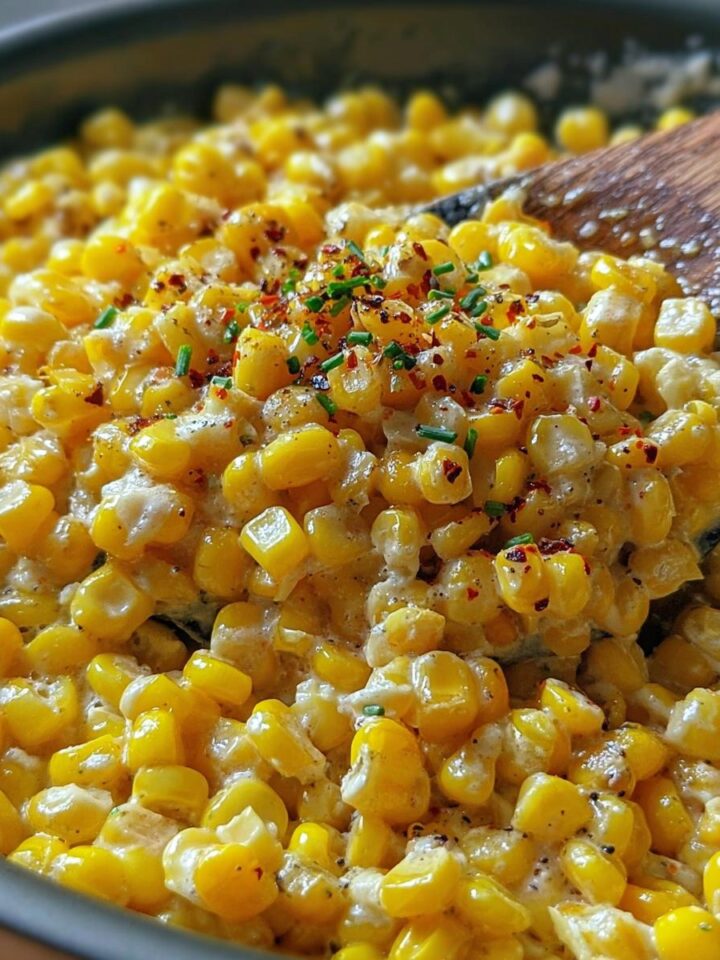
aves on high for the last 2 minutes. Keep an eye on them—cheese goes from golden to burnt quickly!Want to play with flavors? Swap the marinara for a garlic butter glaze or pesto drizzle. And don’t miss our comforting side Cream Cheese Corn Casserole, which complements the Italian-style flavors beautifully.
Serving Suggestions and Pairings
Best Side Dishes to Serve with Garlic Parmesan Meatloaves
When it comes to building a complete meal around these flavorful mini loaves, the right side dishes take it from good to unforgettable. Here are crowd-pleasing pairings that balance the richness of the meatloaf with complementary textures and flavors:
| Side Dish | Why It Works |
|---|---|
| Roasted garlic mashed potatoes | Creamy and comforting, matches the garlic profile |
| Steamed green beans or broccoli | Adds freshness, color, and balance |
| Buttered egg noodles | Light, neutral flavor base that carries the sauce well |
| Caesar salad or garden salad | Crisp greens cut through the richness |
| Garlic bread or dinner rolls | Perfect for mopping up marinara and melted cheese |
Pro tip: Use your muffin-tin meatloaves as the centerpiece of a meal-prep box with rice, veggies, and a drizzle of extra marinara.
Storage, Meal Prep, and Freezing
How to Store Leftovers Safely
Whether you’ve made a big batch or ended up with a few extras, these Garlic Parmesan Meatloaves store exceptionally well. Here’s how to keep them fresh:
- Refrigerator: Store in an airtight container for up to 4 days. Make sure they’ve cooled to room temperature before sealing.
- Reheat: Warm them in the oven at 325°F for 10–15 minutes, or in the microwave with a splash of water or marinara to keep them moist.
- Avoid drying out: Cover meatloaves with foil or a lid while reheating to prevent them from becoming tough.
Planning ahead? These mini loaves make excellen
t lunch leftovers or next-day sliders.Make-Ahead Tips and Freezer Instructions
If you're into meal prepping, this recipe is a dream. It freezes beautifully both before and after baking.
To freeze before baking:
- Shape the raw meatloaf mixture into mini loaves.
- Wrap each one tightly in plastic wrap, then foil.
- Freeze for up to 3 months.
- When ready to cook, thaw overnight in the fridge, unwrap, and bake as usual.
To freeze after baking:
- Let cooked loaves cool completely.
- Wrap each individually or store in a freezer-safe container.
- Label with the date and freeze for up to 2 months.
- Reheat from frozen at 350°F for 20–25 minutes, covered.
Batch cooking tip: Double your ingredients and
prep half for now and half for later. It’s a time-saver and ensures you’ll always have a hearty meal on hand.Nutritional Value and Substitutions
Caloric Breakdown and Nutritional Facts
Garlic Parmesan Meatloaves strike a great balance between comfort and nutrition—especially when made with lean ground chicken. Below is an estimated nutritional breakdown per serving (based on 6 mini loaves):
| Nutrient | Amount (per loaf) |
|---|---|
| Calories | 190–220 |
| Protein | 18–20g |
| Carbohydrates | 6–8g |
| Fat | 11–13g |
| Saturated Fat | 4g |
| Fiber | 1g |
| Sodium | 400–500mg |
These values can vary based on your ingredients—especially the type of cheese, meat, and breadcrumbs you use. Swapping regular breadcrumbs for whole wheat or almond meal can slightly adjust fiber and carb levels.
Looking to lighten things up? Try a small side
salad or steamed veggies instead of pasta or bread-based sides.Healthy Swaps for Dairy-Free, Low-Carb, or Gluten-Free Versions
Dietary restrictions? No problem. Garlic Parmesan Meatloaves are versatile enough to suit most preferences. Here’s how to adjust the base recipe:
For Dairy-Free:
- Replace Parmesan and mozzarella with dairy-free cheese alternatives like almond- or cashew-based shreds.
- Use plant-based milk (like oat or almond) instead of regular milk.
For Low-Carb/Keto:
- Swap breadcrumbs with almond flour or crushed pork rinds.
- Stick with high-fat mozzarella and use extra olive oil for richness.
For Gluten-Free:
- Use certified gluten-free breadcrumbs or oats.
- Double-check your marinara sauce to ensure no hidden wheat ingredients.
Each of these swaps keeps the flavor profile intact while adjusting for dietary needs. And it still tastes amazing—savory, cheesy, and garlicky with a tender bite.
Don’t miss our high-protein, veggie-pack
ed Savory Cabbage Beef Bake for another nourishing alternative that plays well with low-carb meals.Common Mistakes to Avoid
Why Meatloaf Falls Apart and How to Prevent It
Few things are more frustrating than pulling a meatloaf out of the oven only to find it’s crumbling to pieces. Here are the most common reasons this happens—and how to avoid them:
- Not enough binder: Breadcrumbs and eggs are crucial. Without enough, your meatloaf won’t hold together. Stick to at least ½ cup of breadcrumbs and 1 egg per pound of meat.
- Overmixing the meat: This tightens the texture and leads to a dry or tough loaf. Mix just until combined.
- Too much moisture: While milk keeps things juicy, adding too much can make the mixture soggy and unstable. Use exactly ¼ cup per pound of ground chicken.
Want to test it before baking? Shape a small pa
tty and cook it in a skillet for a quick flavor and texture check.Overmixing, Undercooking, and Other Pitfalls
Here are a few more meatloaf missteps—and how to sidestep them like a pro:
- Overmixing: Again, use a gentle hand. The texture should feel soft but not sticky.
- Skipping resting time: Let meatloaf rest 5–10 minutes after baking. This allows the juices to redistribute, making every bite tender and flavorful.
- Not using a thermometer: Don’t guess—insert a meat thermometer in the center. Once it hits 165°F, you’re good to go.
- Ignoring pan choice: Muffin tins and mini loaf pans help with even cooking. If using a large loaf pan, consider lining the bottom with parchment for easy removal.
For a meatloaf that’s moist, flavorful, and picture-perfect, avoid these pitfalls and keep your measurements accurate.
>Final Thoughts
Garlic Parmesan Meatloaves are more than just another dinner—they’re a comforting, flavorful staple that’s easy to make and loved by all. Whether you’re prepping meals ahead, hosting a cozy family dinner, or just craving a hearty dish that doesn’t disappoint, this recipe delivers every single time.
They’re simple, customizable, and satisfying in every bite. From the juicy, herb-seasoned interior to the bubbling cheesy topping, this meal is pure comfort with Italian flair.
Frequently Asked Questions
Absolutely. Ground turkey is a great substitute for chicken and has a very similar texture. Just keep in mind that turkey is often a bit leaner and may require a little extra moisture—try adding a teaspoon of olive oil or a tablespoon of finely shredded zucchini to the mix.
To ensure a moist and juicy meatloaf, don’t skip the milk, egg, and breadcrumbs—they create the perfect texture by trapping moisture inside. Avoid overbaking, and always let your loaves rest for at least 5 minutes after they come out of the oven.
Classic marinara sauce pairs beautifully with the garlic and Parmesan flavors. You can also try a basil pesto drizzle, creamy Alfredo sauce, or even a balsamic glaze for an elevated twist.
Yes, and it’s one of the best parts of this recipe. Shape your mini meatloaves, wrap them tightly in plastic wrap and foil, and freeze for up to 3 months. When ready to bake, thaw overnight in the fridge, unwrap, and bake as directed.
Bake mini meatloaves at 375°F for 25 to 30 minutes, or until the internal temperature reaches 165°F. If you’re using a muffin tin, the cooking time drops to around 20 to 25 minutes.

Leave a Reply