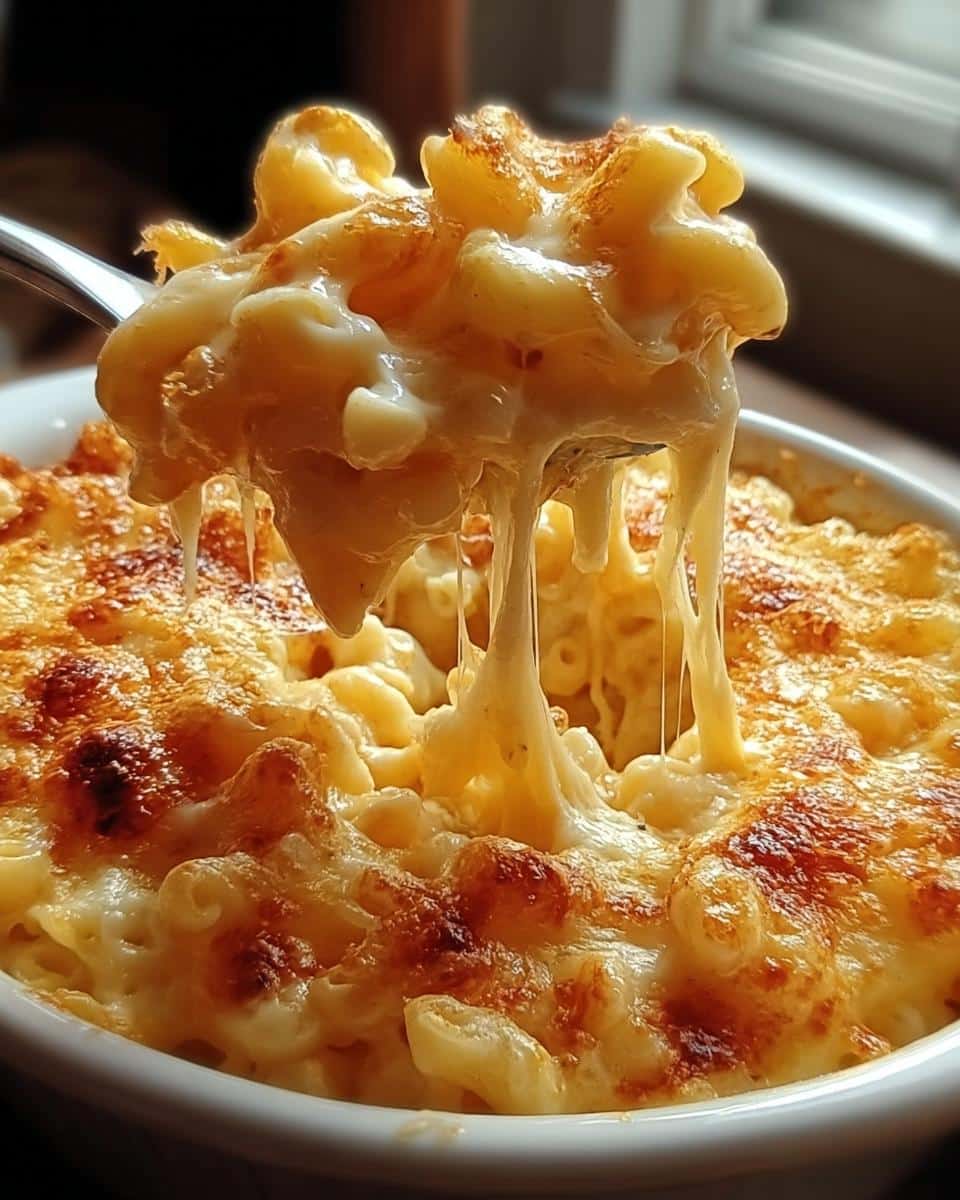
Oh, mac and cheese. Just saying those words makes me feel warm and fuzzy inside. It’s the ultimate comfort food—creamy, cheesy, and just downright irresistible. I remember the first time I made homemade mac and cheese from scratch. I was in college, and my dorm’s sad microwave version just wasn’t cutting it anymore. So, armed with a bag of elbow noodles and a block of cheddar, I took matters into my own hands. And wow, what a game-changer. That first bite of real, homemade mac and cheese, with its silky sauce and crispy breadcrumb topping? Pure magic.

Now, years later, this recipe is still my go-to when I need a little comfort or want to impress friends at a potluck. It’s simple enough for a weeknight but special enough to bring to a gathering. And that golden, crunchy panko topping? Trust me, it’s the secret weapon that takes this dish from good to "can I have seconds?" territory. Whether you’re a mac and cheese purist or love playing with add-ins, this recipe is your new best friend. Let’s get cooking!
Why You’ll Love This Mac and Cheese
Listen, I don’t throw around the word "perfect" lightly, but this mac and cheese? It’s pretty darn close. Here’s why you’re going to fall head over heels for it:
- Creamy dreaminess: That cheese sauce is so smooth and velvety, it’ll make you forget boxed versions ever existed. No powdery nonsense here—just real, melty goodness.
- That crispy crunch: The panko breadcrumb topping is a game-changer. It’s like a little golden hat of crunch that gives every bite texture and wow-factor.
- Pantry-friendly ingredients: No fancy stuff! Just noodles, cheese, butter, milk—things you probably already have hanging around. (Though I do insist on sharp cheddar—it makes all the difference.)
- Weeknight magic: From pot to table in about 30 minutes? Yes, please. It’s faster than waiting for delivery, and about a million times tastier.
- Crowd-pleaser alert: Picky kids, hungry roommates, that one friend who "doesn’t like carbs" (sure, Jan)—this dish wins over everyone. I’ve seen it happen.
Seriously, once you try homemade mac and cheese done right, there’s no going back. Your future self, sprawled on the couch with a bowl of this, will thank you.
Ingredients You’ll Need for Mac and Cheese
Okay, let’s talk ingredients—simple, straightforward, and absolutely no weird surprises. Here’s what you’ll need to make the creamiest, cheesiest mac of your dreams:
- 8 oz elbow macaroni (uncooked): The classic shape holds the sauce just right. No need to get fancy here, but hey, if you’re feeling wild, cavatappi works too.
- 2 cups sharp cheddar cheese, freshly shredded: Don’t even think about pre-shredded! That stuff has anti-caking junk that makes the sauce grainy. Grab a block and shred it yourself—I promise it’s worth the extra 2 minutes.
- 4 tablespoon unsalted butter (½ stick): This is the base of our luscious sauce. Salted butter can work in a pinch, but unsalted lets you control the saltiness.
- 2 tablespoon all-purpose flour: Just enough to thicken the sauce without turning it into paste. Gluten-free? Swap in a 1:1 GF blend.
- 2 cups whole milk: The richer the milk, the creamier the sauce. If you’re out, 2% will do, but avoid skim unless you want sad, watery mac.
- 1 cup panko bread crumbs: The crispy crown jewel! Regular breadcrumbs work, but panko’s extra crunch is *chef’s kiss*.
See? Nothing crazy. Just good, honest stuff that comes together like a cheesy symphony. Now, let’s make some magic!
Step-by-Step Mac and Cheese Instructions
Here’s where the magic happens! Don’t let the fancy French word "roux" scare you—it’s just butter and flour doing a little dance to make your sauce silky. Follow these steps, and you’ll be swimming in cheesy goodness in no time.
Preparing the Pasta
- Boil the macaroni: Grab a big pot, fill it with water, and salt it like the sea (okay, maybe not that much, but don’t be shy—it flavors the pasta). Bring it to a rolling boil and toss in your elbow noodles. Cook for 8-10 minutes until al dente—they should still have a tiny bite to them since they’ll keep cooking in the oven.
- Drain (but save some pasta water!): When the pasta’s ready, drain it in a colander, but—here’s the pro move—save about ½ cup of that starchy pasta water. If your sauce gets too thick later, this liquid gold will thin it out perfectly.
Making the Cheese Sauce
- Melt the butter: In the same pot (less dishes = winning), melt your butter over medium heat. Don’t crank the heat up—we’re not making popcorn here. You want it melted and just barely starting to bubble.
- Whisk in the flour: Sprinkle in the flour and whisk like you mean it for about 1 minute. You’re cooking out that raw flour taste and making a roux—it’ll smell a little toasty and look like wet sand. Congrats, you just leveled up your cooking skills!
- Slowly add milk: Here’s where patience pays off. Pour in the milk a little at a time, whisking constantly. If you dump it all in at once, you’ll get lumps, and nobody wants lumpy sauce. Keep whisking until it’s smooth and starts to thicken slightly, about 3-4 minutes.
- Cheese time! Turn the heat down to low and stir in your shredded cheddar a handful at a time, letting each batch melt before adding more. If the sauce seems too thick, splash in some of that reserved pasta water. Taste it (careful, it’s hot!) and add a pinch of salt if needed.
Baking to Perfection
- Combine pasta and sauce: Dump your drained macaroni back into the pot with the cheese sauce and stir until every noodle is coated in that glorious cheese blanket.
- Top with panko: Transfer everything to a greased baking dish and sprinkle the panko evenly over the top. For extra crunch, you can drizzle a tiny bit of melted butter over the crumbs—I won’t tell.
- Bake until golden: Pop it in a 350°F oven for about 20 minutes, or until the top is crispy and you see little bubbles of cheese peeking around the edges like they’re waving at you. Let it sit for 5 minutes before serving—I know it’s hard to wait, but this helps the sauce set up perfectly.
And there you have it—mac and cheese that’ll make you feel like a kitchen rockstar. Now grab a spoon and dive in!
Mac and Cheese Variations
Look, I love the classic version to death, but sometimes you gotta shake things up! Here are some fun twists to keep your mac and cheese game strong:
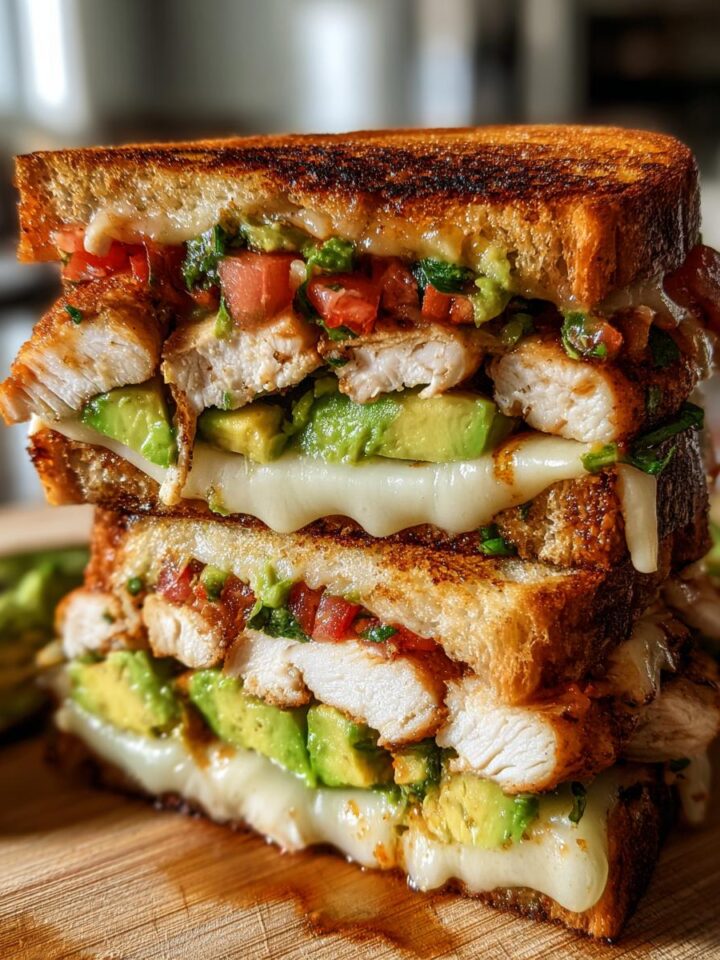
- Meat lover’s dream: Toss in crispy bacon bits, diced ham, or even browned sausage. Bonus points for mixing in some pulled pork—it’s next-level indulgent.
- Spice it up: Add diced jalapeños (fresh or pickled), a pinch of cayenne, or a dash of hot sauce to the cheese sauce. If you’re feeling fancy, top with crushed Flamin’ Hot Cheetos instead of panko for a fiery crunch.
- Cheese swaps: Swap half the cheddar for Gruyère (so fancy!), pepper jack, or smoky gouda. Blue cheese crumbles mixed in? Controversial but delicious.
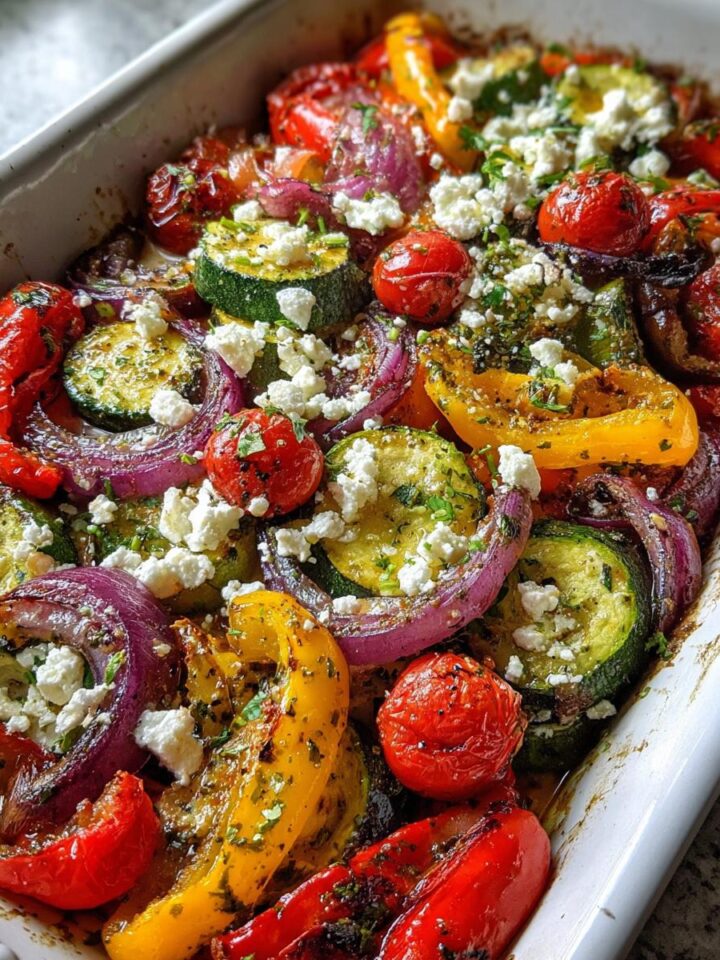
- Veggie boost: Stir in roasted broccoli, caramelized onions, or sautéed mushrooms. Frozen peas are my sneaky kid-friendly add-in—they add color and make me feel slightly virtuous.
- Gluten-free hack: Use your favorite GF pasta and swap the flour for cornstarch (1 tablespoon cornstarch = 2 tablespoon flour) when making the roux.
Really, the only rule is to have fun with it. Mac and cheese is like a blank canvas—but a delicious, cheesy one.
Serving and Storing Mac and Cheese
Okay, here’s the hard part: waiting that agonizing 5 minutes after it comes out of the oven. I know, I know—the smell is torture, but letting it rest means the sauce thickens up perfectly instead of oozing everywhere when you scoop it. (Worth it, I promise.) Serve it up in big, comforting bowls—maybe with a simple green salad if you’re feeling ~balanced~, but let’s be real, I usually go straight for seconds instead.
Got leftovers? Lucky you! Let it cool completely, then stash it in an airtight container in the fridge for up to 3 days. When reheating, splash in a tablespoon or two of milk to bring back that creamy texture—the microwave works fine, but I love crisping up the topping again in a 350°F oven for 10 minutes. Freezing? Not my favorite (the sauce can get grainy), but if you must, freeze before baking and add the breadcrumbs fresh when you’re ready to cook it. Now go forth and mac it up!
Helpful Notes for the Best Mac and Cheese
A few final nuggets of wisdom to ensure your mac and cheese is nothing short of legendary:
- Fresh is best: I’ll say it again—shred your own cheese! Pre-shredded bags have additives that make sauces grainy. A block of sharp cheddar and 2 minutes with a grater = velvety perfection.
- Sauce too thick? Stir in a splash of milk or that reserved pasta water. Too thin? Let it simmer a bit longer or add a pinch of extra cheese. You’re the boss of your sauce.
- Salt smartly: Cheese is salty already, so taste before adding extra. A tiny pinch of mustard powder or dash of Worcestershire sauce can deepen flavors without overpowering.
- Calorie check: One serving clocks in around 450 calories—worth every bite! Lighten it up with low-fat milk and less butter if needed, but hey, sometimes you gotta live a little.
Now go forth and cheese with confidence!
Mac and Cheese FAQs
Got questions? I’ve got answers! Here are the mac and cheese mysteries solved:
- Can I use pre-shredded cheese?
You can, but I don’t recommend it. Those anti-caking agents make the sauce grainy. Freshly shredded melts like a dream—worth the extra minute of effort! - How do I prevent dry mac and cheese?
Two tricks: Don’t overcook the pasta (al dente is key), and save that pasta water! If your sauce thickens too much while baking, stir in a splash of milk or reserved water when reheating. - Can I make this ahead?
Absolutely! Prep everything up to the baking step, cover, and refrigerate for up to 24 hours. Add 5-10 extra minutes to the bake time if going straight from fridge to oven. - What’s the best cheese substitute?
For a sharper bite, try Gruyère or smoked gouda. Need dairy-free? Violife’s cheddar-style shreds melt surprisingly well—just add a little extra milk.
Still stumped? Drop me a comment—I’ve made (and eaten) enough mac to troubleshoot anything!
Final Thoughts
If there's one recipe that never lets me down, it's this mac and cheese. Creamy, comforting, and with that irresistible crispy topping—it's everything you want in a homemade classic. Whether you're cooking for a crowd, feeding picky eaters, or just treating yourself after a long day, this dish delivers every single time. And the best part? It's so simple to make, you'll wonder why you ever bothered with the boxed stuff. So grab your cheese grater, crank up the oven, and get ready to fall in love with mac and cheese all over again. Trust me, your taste buds will thank you!
Print
Creamy Mac and Cheese Recipe
- Total Time: 30 mins
- Yield: 4 servings 1x
- Diet: Vegetarian
Description
A classic homemade mac and cheese recipe with a crispy breadcrumb topping.
Ingredients
- 8 oz elbow macaroni
- 2 cups sharp cheddar cheese, shredded
- 2 cups whole milk
- 4 tbsp unsalted butter
- 2 tbsp all-purpose flour
- 1 cup panko bread crumbs
Instructions
- Boil the macaroni until al dente. Drain and set aside.
- Melt butter in a saucepan over medium heat.
- Whisk in flour to make a roux.
- Gradually add milk while stirring.
- Stir in shredded cheese until melted.
- Combine cheese sauce with cooked macaroni.
- Top with panko bread crumbs.
- Bake at 350°F for 20 minutes or until golden brown.
Notes
- Use freshly shredded cheese for best melting.
- Adjust milk thickness by adding more if needed.
- Let rest 5 minutes after baking for better texture.
- Prep Time: 10 mins
- Cook Time: 20 mins
- Category: Main Dish
- Method: Baked
- Cuisine: American
Nutrition
- Serving Size: 1 serving
- Calories: 450
- Sugar: 8g
- Sodium: 400mg
- Fat: 22g
- Saturated Fat: 12g
- Unsaturated Fat: 8g
- Trans Fat: 0g
- Carbohydrates: 45g
- Fiber: 2g
- Protein: 18g
- Cholesterol: 60mg
Keywords: mac and cheese, homemade macaroni, baked macaroni


Leave a Reply